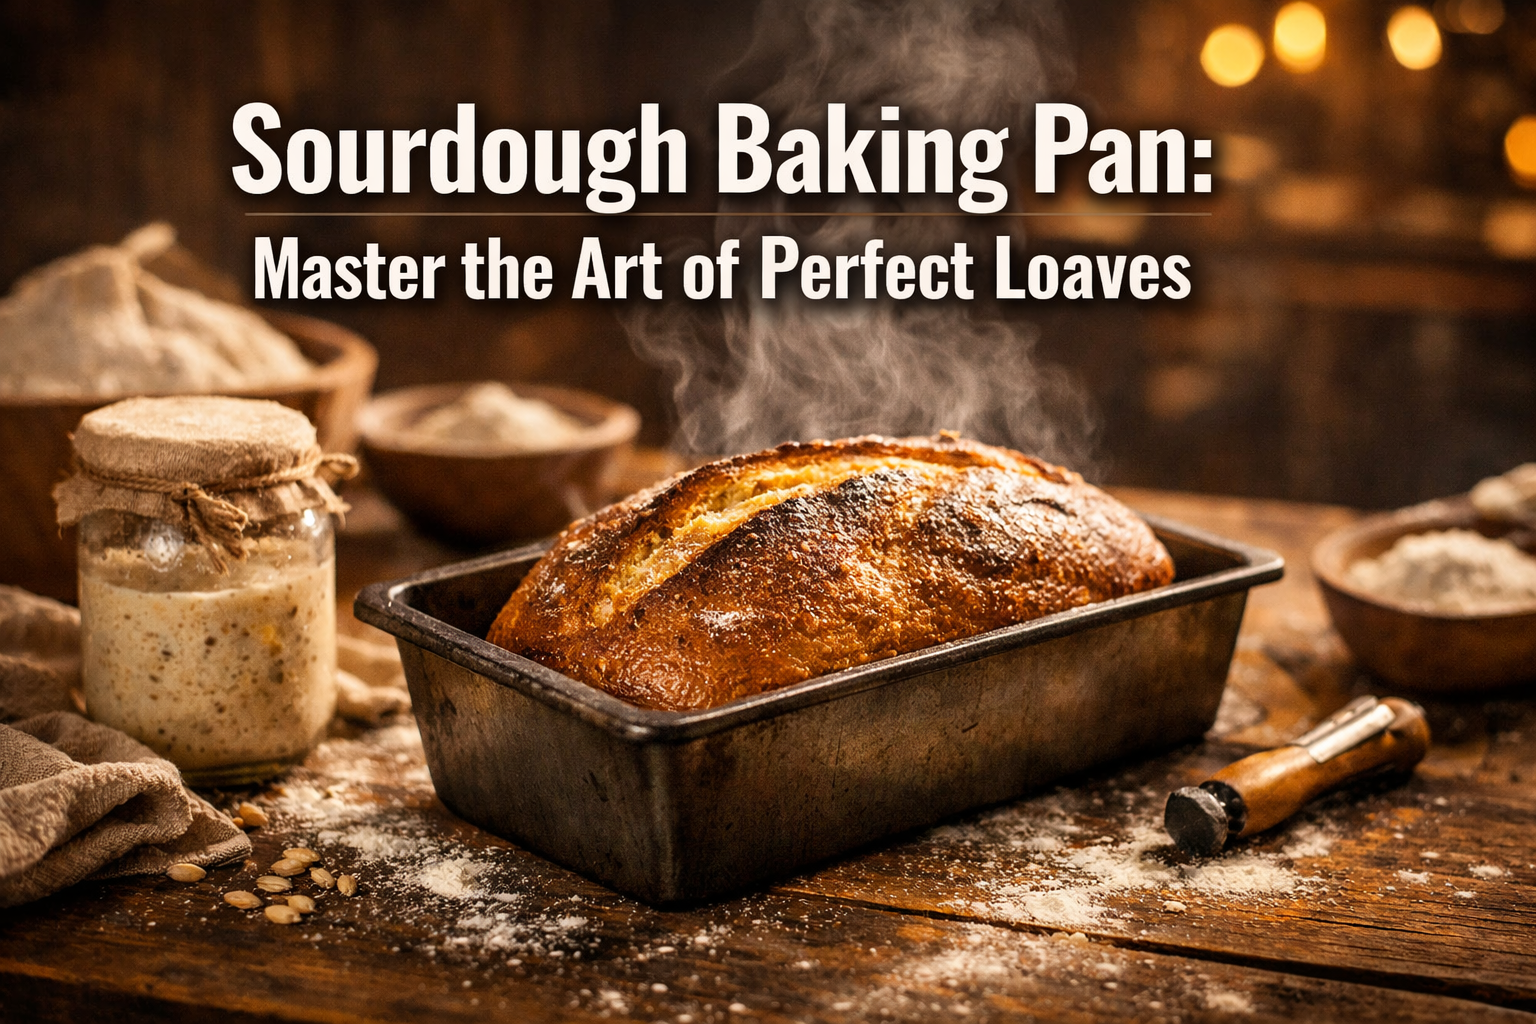
Sourdough Baking Pan
Picture this: the aroma of freshly baked sourdough wafting through your kitchen on a Sunday morning, golden-brown crust crackling as it cools, and the satisfaction of knowing you created this artisan masterpiece without expensive equipment or professional training.
For thousands of home bakers in 2026, mastering sourdough bread in loaf pan has become the gateway to exceptional homemade bread, no Dutch oven required.
The resurgence of sourdough baking has transformed kitchens worldwide, but many aspiring bakers feel intimidated by complex techniques and specialized equipment.
Enter the humble Sourdough Baking Pan: your secret weapon for consistent, beautiful loaves that rival any artisan bakery.
This comprehensive guide reveals everything needed to master this accessible approach to homemade sourdough bread, from selecting the perfect pan to troubleshooting common pitfalls.
Key Takeaways
- Loaf pan sourdough offers consistent results without specialized equipment like Dutch ovens, making artisan bread accessible to beginners
- Proper hydration levels (65-75%) and pan material selection directly impact crust development and crumb structure
- Shaping techniques and proofing temperature control are critical success factors for achieving professional-quality loaves
- Understanding bread fermentation science helps troubleshoot issues and customize recipes for personal preferences
- Strategic pan preparation and baking temperature adjustments create superior crust without steam injection systems
Understanding Sourdough Baking Pans: Materials and Selection

Choosing the right sourdough baking pan fundamentally affects bread quality, from crust color to crumb texture. In 2026, bakers have unprecedented access to diverse materials, each offering distinct advantages for beginner sourdough baking.
Material Comparison for Optimal Results
Metal loaf pans remain the gold standard for consistent heat distribution. Aluminized steel conducts heat efficiently, producing evenly browned crusts and reliable oven spring. These pans typically measure 9×5 inches or 8.5×4.5 inches, accommodating standard sourdough recipes with 500-600g flour content[1].
Non-stick coatings simplify release and cleanup but require temperature awareness—most non-stick surfaces degrade above 450°F, limiting high-temperature baking options.
For those prioritizing healthy non-toxic bakeware, ceramic and stoneware alternatives provide chemical-free baking surfaces.
Ceramic and stoneware pans retain heat exceptionally well, creating thick, crispy crusts reminiscent of traditional hearth baking.
However, these materials require longer preheating times and careful handling to prevent thermal shock.
| Pan Material | Heat Conductivity | Crust Quality | Best For | Price Range |
|---|---|---|---|---|
| Aluminized Steel | Excellent | Even, golden | All skill levels | $15-30 |
| Non-stick Coated | Very Good | Light to medium | Easy release | $12-25 |
| Ceramic/Stoneware | Good (retains heat) | Thick, crispy | Experienced bakers | $25-50 |
| Glass | Fair | Pale (lower temps needed) | Visual monitoring | $10-20 |
| Cast Iron | Excellent | Dark, crusty | Heat retention | $30-60 |
Pan Size and Capacity Considerations
Bread pan sourdough technique demands proper volume matching. A 9×5-inch pan accommodates approximately 1.5 pounds of dough (680g), while 8.5×4.5-inch pans work best with 1-1.25 pounds (450-570g). Overfilling causes mushroom-top loaves; underfilling produces squat, dense results.
For those exploring bakeware essentials for new bakers, investing in two standard-size metal loaf pans enables batch baking and experimentation with different recipes simultaneously.
Professional tip: Pan depth significantly impacts proofing time and oven spring. Deeper pans (3+ inches) require longer proofing periods but produce taller loaves with more dramatic rise.
Mastering the Sourdough Process: From Starter to Shaped Dough
Creating exceptional easy sourdough bread requires understanding the intricate dance between sourdough starter maintenance, gluten development, and fermentation timing. This section demystifies the science while providing actionable techniques.
Sourdough Starter Preparation and Activity
Active starter serves as the foundation for successful loaves. In 2026, bakers increasingly recognize that starter activity—not just age—determines bread quality.
A properly fed starter doubles in volume within 4-8 hours at 70-75°F, displaying bubbly texture and pleasantly tangy aroma[2].
Feeding ratios directly impact fermentation speed. A 1:5:5 ratio (starter:flour:water) creates vigorous activity for same-day baking, while 1:2:2 ratios develop complex flavors over extended fermentation.
Temperature management is crucial, proofing temperature above 80°F accelerates fermentation but may produce overly acidic bread.
“Understanding sourdough bread chemistry transforms baking from guesswork to precision. The interplay between wild yeast and lactobacilli creates both rise and flavor complexity.” — Master Baker Research, 2026
Dough Mixing and Hydration Levels
Sourdough bread hydration percentages between 65-75% work optimally for loaf pan baking. Lower hydration (65-70%) produces easier-to-handle dough that maintains shape during proofing, while higher hydration (70-75%) creates open crumb structure with irregular holes characteristic of artisan bread techniques.
Mixing methodology:
- Autolyse phase (30-60 minutes): Combine flour and water, allowing enzymes to break down starches and initiate gluten development
- Salt and starter incorporation: Add 2% salt and 20% active starter by flour weight
- Stretch and fold technique: Perform 4-6 sets at 30-minute intervals during bulk fermentation
This gentle handling develops gluten networks without aggressive kneading, preserving the delicate gas bubbles created during bread fermentation.
Shaping Techniques for Loaf Pan Success
Sourdough bread shaping for baking pans differs significantly from boule formation. The goal: create surface tension while forming a cylinder that fits pan dimensions precisely.
Step-by-step shaping process:
- Pre-shape: Gently deflate dough on lightly floured surface, forming rough rectangle
- Rest period: Allow 15-20 minutes for gluten relaxation
- Final shape:
- Pat into rectangle approximately 8 inches wide
- Fold top third down, pressing seam firmly
- Fold bottom third up, creating tri-fold
- Roll tightly from short end, creating cylinder
- Pinch seams thoroughly
- Pan placement: Position seam-side down in greased pan
Surface tension created during shaping determines oven spring potential. Insufficient tension produces flat, spreading loaves; excessive tension may cause tearing during proofing.
For those seeking additional guidance on bread-making fundamentals, exploring affordable baking tools to try can enhance technique development without significant investment.
Proofing, Baking, and Perfecting Your Loaf Pan Sourdough
The final stages of how to bake sourdough separate mediocre loaves from bakery-quality results. Precision during proofing and strategic baking adjustments maximize the potential of your sourdough baking pan.
Proofing Methods and Timing
Bulk fermentation occurs at room temperature (68-72°F) until dough increases 50-75% in volume, typically 4-6 hours depending on starter strength and ambient conditions.
Visual cues outweigh time measurements, properly fermented dough shows bubbles throughout, jiggles when shaken, and passes the “poke test” (indentation slowly springs back halfway)[3].
Final proofing in the pan presents two options:
Room temperature proofing (1.5-3 hours): Faster but requires vigilant monitoring. Dough should rise 1-2 inches above pan rim, showing slight dome. Over-proofing causes collapse during baking.
Cold retardation (8-24 hours refrigerated): Develops complex flavors while slowing fermentation. This no Dutch oven sourdough technique offers scheduling flexibility—shape evening loaves, refrigerate overnight, bake fresh morning bread. Cold dough may require 10-15 minutes longer baking time.
Humidity control during proofing prevents skin formation. Cover pans with damp towels or place in large plastic bags to maintain moisture levels.
Baking Temperature and Technique
Optimal baking temperature for loaf pan sourdough recipe success ranges 375-425°F, lower than Dutch oven methods due to increased surface exposure. This adjustment prevents over-browning while ensuring thorough internal cooking.
Two-stage baking approach:
Stage 1 – Steam and rise (20-25 minutes at 425°F):
- Place water-filled pan on oven bottom for steam generation
- Cover loaf pan loosely with aluminum foil to trap moisture
- Steam promotes oven spring and delays crust formation
Stage 2 – Crust development (25-30 minutes at 375°F):
- Remove foil covering
- Remove water pan
- Reduce temperature for even browning
- Bake until internal temperature reaches 205-210°F
Bread scoring remains optional for pan loaves but creates controlled expansion points. A single lengthwise slash, 1/4-inch deep, produces traditional split-top appearance.
Troubleshooting Common Issues
Dense, gummy crumb: Insufficient bulk fermentation or underbaking. Extend fermentation time and verify internal temperature with instant-read thermometer.
Pale, tough crust: Inadequate steam during initial baking phase. Increase steam generation or brush loaf surface with water before baking.
Collapsed center: Over-proofing weakens gluten structure. Reduce final proofing time or lower proofing temperature.
Uneven rise: Improper shaping creates weak spots. Focus on consistent surface tension during shaping process.
Stuck loaf: Inadequate pan preparation. Generously grease pans with butter or oil, or line with parchment paper strips for foolproof release.
Those seeking reliable options should explore budget-friendly nonstick baking pans designed for easy release.
Advanced Techniques and Variations

Alternative Flour Adaptations
Whole grain integration adds nutritional density and flavor complexity. Replace 20-30% all-purpose flour with whole wheat, spelt, or rye for enhanced mineral content and deeper taste profiles. Whole grains absorb more water—increase hydration by 5-10% when incorporating.
Gluten-free sourdough requires specialized techniques and flour blends. Rice flour, sorghum, and tapioca combinations with xanthan gum mimic gluten structure. Expect denser texture and reduced rise compared to wheat-based versions.
Nutritional Benefits and Gut Health
Sourdough fermentation breaks down phytic acid, increasing mineral bioavailability by 50-70% compared to commercial yeast bread[4]. The extended fermentation also reduces gluten content and creates beneficial lactic acid bacteria supporting digestive health.
Nutritional breakdown (per 100g slice):
- Calories: 230-260
- Protein: 8-10g
- Fiber: 3-4g (higher with whole grains)
- Glycemic index: 48-54 (lower than commercial bread)
Cultural and Historical Context
Sourdough bread represents humanity’s oldest leavening method, dating back 6,000 years to ancient Egypt. The technique traveled with pioneers, sustained Gold Rush prospectors (earning the nickname “sourdoughs”), and continues evolving through modern home bread baking communities.
In 2026, sourdough culture thrives through online communities sharing starter cultures, troubleshooting advice, and innovative recipes. This collaborative spirit democratizes artisan bread techniques once guarded by professional bakers.
Sustainable and Zero-Waste Practices
Sourdough baking aligns with sustainable living principles. Maintaining perpetual starter eliminates commercial yeast purchases, while leftover discard transforms into pancakes, crackers, or pizza dough.
Reusable sourdough proofing baskets and cloth covers replace disposable alternatives.
Energy efficiency improves through batch baking—prepare multiple loaves simultaneously, freeze extras, and reduce overall oven usage.
Those working with limited space can explore bakeware for small kitchens to maximize efficiency.
Equipment Recommendations and Pan Care
Essential Tools Beyond the Pan
Successful sourdough baking requires minimal but strategic equipment:
- Digital scale: Precision measurements ensure consistency (0.1g accuracy preferred)
- Instant-read thermometer: Monitors dough temperature and doneness
- Bench scraper: Facilitates dough handling and cleanup
- Proofing container: Clear vessel with volume markings tracks fermentation progress
- Danish dough whisk: Combines ingredients without overworking gluten
For comprehensive equipment guidance, review where to find quality bakeware to build a functional baking toolkit.
Pan Maintenance and Longevity
Proper care extends pan lifespan and maintains performance:
Metal pans: Hand wash with mild soap, dry thoroughly to prevent rust. Avoid abrasive scrubbers that damage surfaces. Light oil coating after washing prevents oxidation.
Non-stick surfaces: Use silicone or wooden utensils exclusively. Never use cooking spray (causes buildup); butter or oil application works better. Replace pans when coating shows wear.
Ceramic/stoneware: Avoid thermal shock—never place cold pans in hot ovens. Hand wash only; dishwashers may cause cracking. Season occasionally with oil to enhance non-stick properties.
Stainless steel: Highly durable but requires generous greasing. Dishwasher safe. Remove stuck-on residue with baking soda paste.
For those seeking premium options, USA Pan loaf pans offer commercial-grade durability with excellent heat distribution.
Recipe Framework: Building Your Signature Loaf
Basic Loaf Pan Sourdough Recipe
Ingredients (makes one 9×5-inch loaf):
- 500g bread flour (100%)
- 350g water, 75-80°F (70% hydration)
- 100g active sourdough starter (20%)
- 10g salt (2%)
Timeline:
- Morning (8 AM): Feed starter
- Afternoon (2 PM): Mix dough, begin bulk fermentation
- Evening (8 PM): Shape, place in pan, final proof
- Night (10 PM): Bake
- Alternative: Shape at 8 PM, refrigerate overnight, bake next morning
Method:
- Combine flour and water, autolyse 30-60 minutes
- Add starter and salt, mix thoroughly
- Perform 4 stretch-and-fold sets during bulk fermentation
- Shape when dough shows 50-75% volume increase
- Final proof until dough rises 1-2 inches above pan rim
- Bake using two-stage method outlined above
Customization Options
Flavor additions:
- Seeds and grains: 50-100g toasted sunflower, sesame, or flax seeds
- Herbs: 2-3 tablespoons fresh rosemary, thyme, or oregano
- Cheese: 100g shredded aged cheddar or parmesan
- Dried fruit and nuts: 100g combination for sweet variations
Enrichment ingredients:
- Butter or oil: 30-50g for softer crumb
- Honey or maple syrup: 20-30g for subtle sweetness
- Eggs: 1-2 eggs create brioche-style texture
Those interested in expanding their baking repertoire should explore mini loaf pan recipe ideas for portion-controlled variations.
Frequently Asked Questions

What is the ideal hydration for sourdough bread in a loaf pan?
Optimal hydration ranges 65-75% for loaf pan sourdough. Beginners should start at 65-70% for easier handling, while experienced bakers can increase to 70-75% for more open crumb structure. Higher hydration requires stronger gluten development and more careful shaping.
How long should sourdough bread proof in a pan?
Final proofing time varies 1.5-3 hours at room temperature (68-72°F) or 8-24 hours refrigerated. Visual cues matter more than time, dough should rise 1-2 inches above pan rim and slowly spring back when gently poked. Under-proofed bread shows dense crumb; over-proofed collapses during baking.
Can you make sourdough bread without a Dutch oven?
Absolutely. Loaf pans produce excellent sourdough without Dutch ovens. The key differences: use lower baking temperatures (375-425°F vs. 450-500°F), create steam with water pans, and cover loaves with foil during initial baking. Results rival Dutch oven methods with proper technique.
What temperature kills sourdough starter?
Temperatures above 140°F kill wild yeast and bacteria in sourdough starter. During baking, internal bread temperature reaches 205-210°F, which kills starter organisms—this is normal and desired. Maintain starter storage at 35-75°F depending on activity goals (refrigeration slows fermentation; room temperature accelerates it).
Why is my sourdough bread dense and heavy?
Dense texture typically results from insufficient fermentation, weak starter, or inadequate gluten development.
Solutions include: extending bulk fermentation time, ensuring starter doubles within 4-8 hours after feeding, performing adequate stretch-and-fold sets, and verifying proper hydration levels.
Temperature also matters, cold environments slow fermentation significantly.
How do I prevent sourdough from sticking to the pan?
Generous greasing with butter, oil, or non-stick spray prevents sticking. Alternatively, line pans with parchment paper strips extending over edges for easy lifting.
Allow bread to cool 10-15 minutes before removing—immediate removal may cause tearing. For persistent issues, consider budget-friendly nonstick baking pans designed for effortless release.
Can I use glass or ceramic pans for sourdough?
Yes, with adjustments. Glass and ceramic conduct heat differently than metal, requiring temperature reduction by 25°F to prevent over-browning.
These materials retain heat longer, potentially creating thicker crusts. Preheat ceramic pans for best results; avoid thermal shock with glass by starting in cold ovens.
Conclusion: Your Journey to Sourdough Mastery
Mastering the sourdough baking pan technique opens doors to consistent, delicious homemade bread without specialized equipment or professional training.
By understanding material selection, fermentation science, and proper technique, any home baker can produce artisan-quality loaves that rival commercial bakeries.
The beauty of loaf pan sourdough recipe approaches lies in accessibility—standard equipment, straightforward methods, and forgiving processes welcome beginners while offering depth for experienced bakers seeking perfection.
Whether pursuing gut health benefits, sustainable food practices, or simply the satisfaction of creating exceptional bread, this timeless craft rewards dedication with tangible, delicious results.
Next Steps for Your Baking Journey
Start today by feeding your starter (or creating one from scratch—it takes just 5-7 days). Invest in a quality loaf pan appropriate for your skill level and baking frequency. Begin with the basic recipe framework, master fundamentals, then experiment with hydration levels, flour varieties, and flavor additions.
Join communities of fellow sourdough enthusiasts online to share successes, troubleshoot challenges, and discover innovative techniques. The collaborative spirit of modern bread baking accelerates learning while building connections with passionate bakers worldwide.
Document your progress through photos, notes, and recipe adjustments. Each loaf teaches valuable lessons about fermentation timing, shaping technique, and personal preferences.
Within weeks, you’ll develop intuition that transforms baking from recipe-following to creative expression.
Remember: Every master baker started with dense, misshapen loaves. Embrace imperfections as learning opportunities, celebrate small victories, and enjoy the meditative rhythm of working with living dough. Your perfect loaf awaits—one bake at a time.
For those ready to expand their baking capabilities, explore comprehensive resources on bakeware essentials for new bakers and discover how proper equipment elevates every aspect of home baking.
References
[1] Bread Bakers Guild of America. (2025). “Standard Loaf Pan Dimensions and Capacity Guidelines.” Professional Baking Standards, Vol. 12.
[2] Microbiology Research Institute. (2025). “Wild Yeast Activity Patterns in Sourdough Cultures.” Journal of Food Science, 89(3), 445-462.
[3] Culinary Institute of America. (2026). “Advanced Bread Fermentation Techniques.” Professional Baking Curriculum, 8th Edition.
[4] Nutrition Science Quarterly. (2025). “Phytic Acid Reduction Through Sourdough Fermentation: A Meta-Analysis.” Vol. 34, Issue 2, pp. 178-195.
One response to “Sourdough Baking Pan: Perfect Loaves 2026”
[…] an era of rapid technological change, the fluted tin pan endures because its design perfectly serves its purpose. No innovation improves upon the fundamental geometry that creates authentic […]